
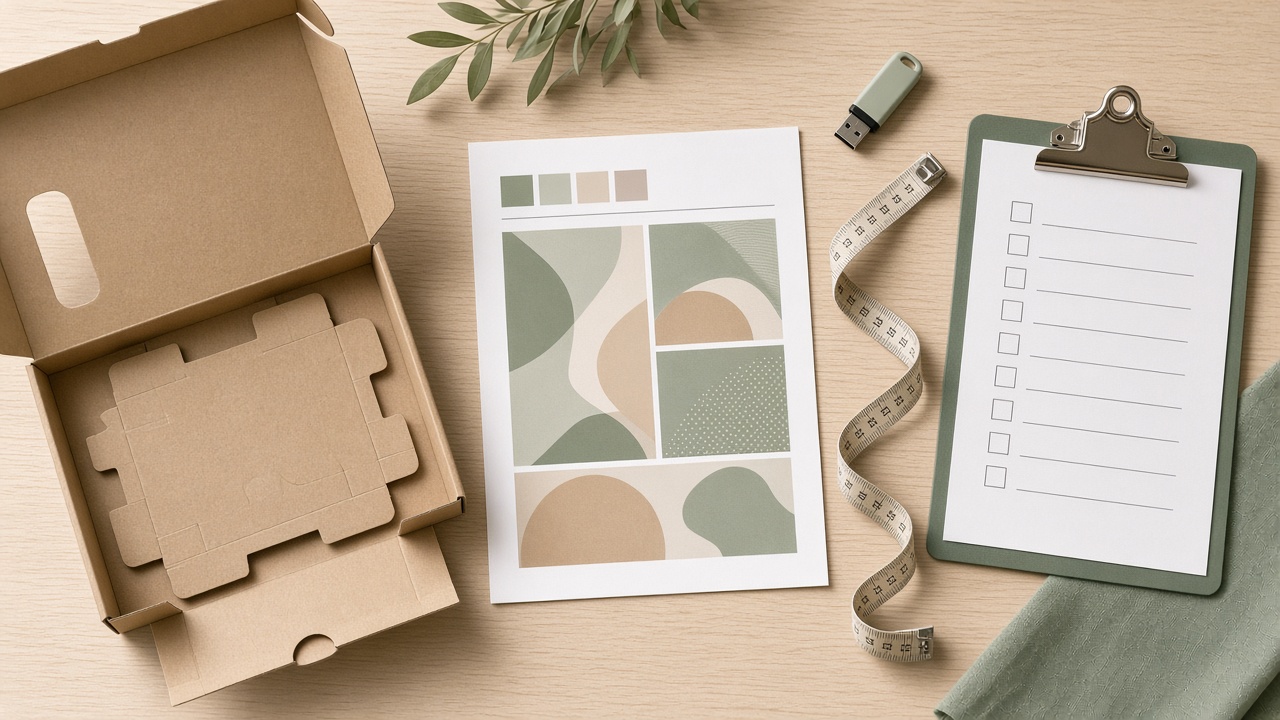
Checklist for sending packaging print files to the printer
Sending packaging files to the plant without a careful check easily causes waste and wrong color. A 7-step checklist before you send — for boxes, labels, and bags across categories.
Sending packaging print files to the plant without a careful check is the most common cause of waste, wrong color, or type getting cut off. Below is a 7-step checklist that helps shop owners and design owners avoid expensive mistakes before they hit send — plus notes on when to self-check and when to hard-proof.
1. Check dimensions
Design file dimensions must match the chosen die exactly.
Example: a 120×120×80mm cake box → each panel on the file must match the corresponding size (front 120×120, side 120×80, etc.), not “close enough.”
If artwork runs to the edge (bleed), add overrun per plant requirements (often ~3mm per side).
The actual file can be larger than product size because of bleed — but trim size must still match the box/bag/label size.
Switch box suppliers / cup sizes → re-measure; don’t reuse an “estimated” old file.
2. Image resolution at least 300 DPI
Screen images (72 DPI) look sharp but print soft or broken. Rules:
Bitmap images (JPG, PNG): at least 300 DPI at actual print size.
Vector logos (SVG, AI, PDF vector): don’t break when scaled — prefer when possible.
Don’t stretch logos from Facebook/Zalo onto a large box.
Quick check: open the image in an editor → look at Image Size / Resolution at real print size. If you must enlarge a lot and DPI drops below the threshold, change the image source or use vector.
3. Convert color from RGB to CMYK
Screens use RGB; commercial presses work in CMYK (or a plant profile). RGB color is usually brighter → files that aren’t converted / don’t control expectations feel “dull” in print.
Accept that some neon RGB colors cannot be reproduced on paper.
Printaz automatically orients RGB → CMYK when exporting print files, but you should still preview color after conversion.
Important brand colors: consider Pantone or hard-proof before bulk.
4. Outline fonts (convert text to paths)
If the file still has live text (not outlined), the plant machine may not have that font → text switches to a default font or layout jumps.
Convert type to paths/outlines before sending, or embed fonts correctly per plant requirements.
Printaz automatically outlines when exporting vector PDF.
After outlining, re-check letter spacing and slogan lines — sometimes a light tweak is needed.
5. Safe zone ≥ 3mm from the edge
Important type and logos should not sit too close to the edge because:
Small cutting error (~1–2mm) can clip type.
Dies have tolerance; cut position is not always perfectly exact.
Practical rule: keep about 3–5mm minimum from type/logo to the cut line (trim line). Full-bleed color backgrounds can run to the edge — readable content cannot.
6. Preview in 3D / mockup before locking
A flat 2D design can look great, but once folded into a box you finally see:
Type upside down or hard to read from the hand-hold angle.
Logo covered by the lid when closed.
Panel colors that don’t harmonize when placed side by side on a shelf / in a takeaway bag.
Printaz’s 3D feature lets you rotate the box and simulate open/close to check before print — reducing “pretty on file, off when held for real.”
7. Hard-proof for large jobs or first runs
The cost of proofing 1–2 samples is usually small vs scrapping a whole off-color / wrong-type run. Hard-proof when:
Large orders (for example ≥ 500 pieces) — error cost is high.
First packaging for a brand / changing paper substrate.
Complex designs (many colors, many layers, special finishes).
Proof on the substrate that will run bulk if possible. Approve under shop lighting (not only under a computer lamp).
Quick tick summary
File size matches the die + bleed.
Bitmap images ≥ 300 DPI at real size; logos prefer vector.
Color oriented to CMYK / plant profile; accept shift vs screen.
Fonts outlined (or correctly embedded).
Type/logos at a safe distance from the edge (~3–5mm).
3D / mockup preview before locking.
Hard-proof if large or first run.
When to DIY the checklist, when to ask tech help
Self-tick all 7 steps: text/price changes on a template that already has a die-line, medium/small jobs, you’ve printed the same size before.
Ask a designer/plant: new box structure, old files missing bleed/die-line, tight color matching, many SKUs at once.
Don’t: send a “close enough” file and ask the plant to guess — easy waste or a return.
FAQ
Is missing one checklist step a big deal? Missing bleed or wrong size is usually the most expensive (scrap the whole run). Missing outlined fonts usually gets the file returned. Skipping hard proof is a color risk — depends how brand-critical the color is.
Does a Canva PDF export pass the checklist? It can, if you set correct size, enough DPI, and also handle bleed/CMYK/outline per plant requirements (or use a print-ready export tool).
Can I send a screenshot over Zalo? No — that’s idea reference, not a print file.
Small tip: save this checklist as a sample message or internal note. Before each plant send, the owner just ticks — less reliance on “remembering by feel,” fewer post-print disputes.
Printaz in the plant-send workflow
On Printaz you pick templates by die-cut frame, edit in 2D, preview in 3D, then export files ready for the printer or place a print order. You should still tick the checklist above — the tool reduces manual steps; it doesn’t replace confirming size and content match the sales window.
This checklist applies to paper boxes, stickers/labels, paper bags, and many other packaging types (F&B, retail, fashion, gifts…). Need file advice before sending to the plant: [email protected] · printaz.vn.
Share this article