
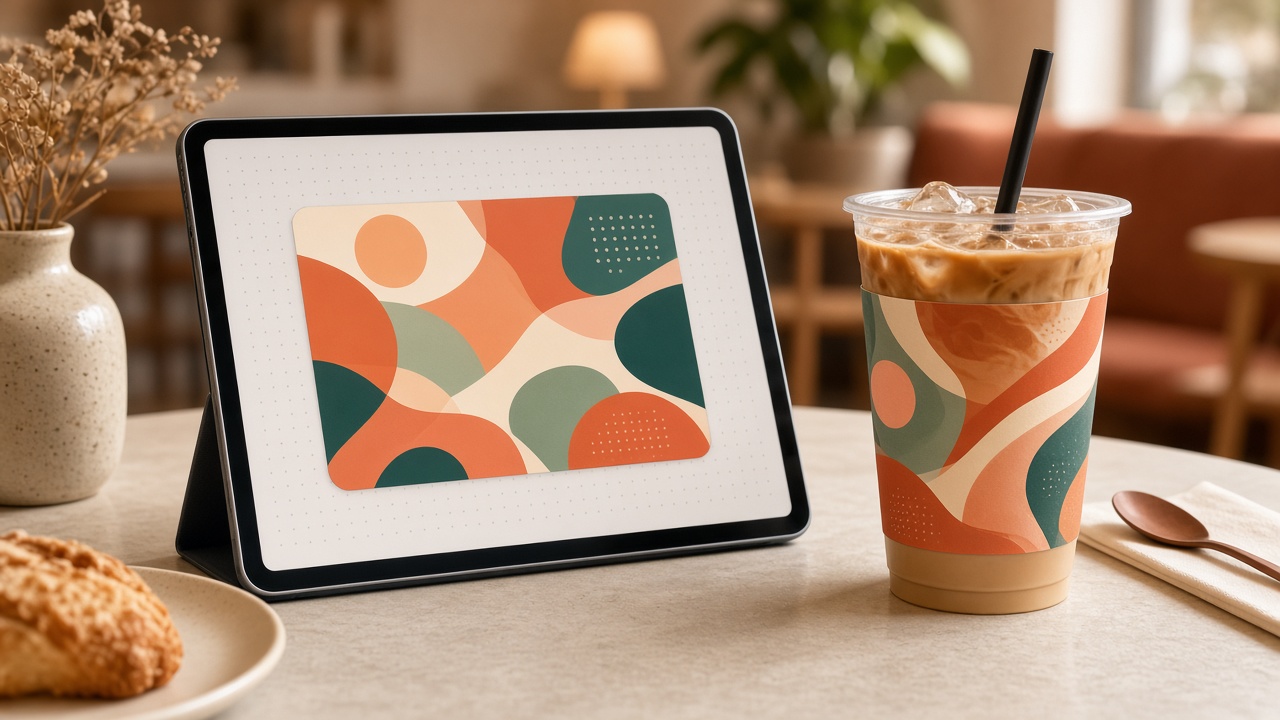
Make cafe / milk-tea cup labels without Illustrator
Seasonal F&B cup labels don’t need Illustrator if you have a 2D template and plant-ready export. A lean workflow for cafe and milk-tea owners.
Many shop owners think “pretty cup labels require hiring a designer + opening Illustrator.” In practice most F&B cup labels only need correct size, correct print color, and editable text / logo by season. With a template and a plant-ready export process, you don’t necessarily have to build the file from scratch on desktop.
This post goes from the Illustrator bottleneck for small shops → a lean 2D cup-label workflow → a tech checklist → when you should still hire a specialist — and which part Printaz helps.
Why Illustrator often becomes a bottleneck for small shops
Hiring design is expensive; every text, price, or promo edit incurs more fees.
Files sent to the plant in the wrong format → the plant rebuilds, delays, and easily drifts from the shop’s intent.
Small runs (a few hundred labels) make both the shop and the printer hesitant: edit time can exceed order value.
Shop operators know Canva / a brand kit, but not bleed, CMYK, or outlined fonts — they send a file that “looks good on the phone” and get it returned.
This isn’t the designer’s or the printer’s fault — it’s a process that’s too heavy for a frequently changing 2D product like cup labels.
What do F&B cup labels actually need?
Before picking a tool, lock which label type you’re making:
Body wrap labels: wrap around the cup body; size follows circumference × height of the wrap area on PET / paper / hot cups.
Lid labels / small logo labels: tight area — logo + shop name or icon only.
Straw / sleeve labels: small size, type must stay extremely compact.
Each type has one size, one substrate, one adhesive requirement. Don’t reuse one “guessed from a web photo” file for both size S and size L cups.
A leaner workflow with 2D cup labels
Pick a label template that matches the cup type (body, lid, small logo).
Edit on a 2D interface: place logo, item name, brand colors, slogan.
Preview / mockup before locking — understand how the label will look on a real cup.
Export a print-ready file (correct size, bleed, print-oriented color) so the plant can print directly and cut file ping-pong.
Keep the master on the app/folder so next time you only edit text, not rebuild from scratch.
Tech checklist before export
Measure circumference / wrap height on the cups you currently sell, don’t pull sizes from sample photos online.
Bleed per plant requirements (often about 2–3mm per side depending on the label).
Vector logo or image with enough DPI for the real label size — don’t stretch Facebook/Zalo images up.
Work in print color (CMYK / plant profile); accept that print is more muted than screen.
Fonts: outline / convert to curves if sending a design file; avoid fonts the plant machine doesn’t have.
Name the file clearly: for example
tem-ly-tra-sua-90x50-cmyk.pdf.
Who this workflow fits
Cafe and milk-tea owners / takeaway shops that need labels that change with seasonal menus.
Small chains that want brand consistency across locations without a full-time designer.
Internal marketing owners: comfortable with Canva / brand kits but not professional print files.
Shops running flash sales / frequent price changes — need text edits in an afternoon, not a 3–5 day wait.
When you should still hire a designer / Illustrator
Labels with complex illustration, custom patterns, many effect layers.
Tight Pantone matching to a large-chain guideline.
Building a first full system of labels + boxes + bags under one visual system.
What should stay on the shop side: changing item names, prices, promo CTAs, seasonal product photos on a locked frame.
Tips for a good print the first time
Work toward print color (not only screen color).
Measure the wrap area on the real cups you sell — including when you switch cup suppliers.
Proof 50–100 labels on the correct cup type before bulk.
Cold cups / milk tea: choose waterproof stock and adhesive suited to PET surfaces.
Type large enough to read when the cup is wet or fogged; QR codes must be tested with a phone camera on the hard proof.
Example: one-afternoon workflow for a milk-tea shop
Suppose you need a body wrap for a fall combo, with menu photography deadline tomorrow:
Morning: re-measure the wrap area on the size-M PET cups in use; note dimensions and the adhesive type the plant is printing.
Afternoon: open the master template (or a web template), swap logo, combo name, seasonal accent color, and the line “Buy 2 get 10% off.”
Preview on a cup mockup; check type isn’t against the edge and the QR is large enough.
Export a print-ready file, send the plant with size notes + a 100-piece proof quantity.
Next day: apply to real cups, compare color to old cups / brand kit — only then go bulk.
This whole chain doesn’t need Illustrator if you already have a correct master frame. Illustrator (or a freelancer) is only needed when you don’t have a master yet, or the new visual is more complex than “swap text + accent color.”
FAQ
Is Canva enough for cup labels? Enough for simple layouts if you export correct size + DPI and have the plant (or another tool) handle bleed/CMYK. Missing die-line / bleed easily shows white edges.
What if I don’t know CMYK? At least don’t expect neon phone color to hold on paper. Hard-proof and compare to brand; or use a tool that converts when exporting a print file.
Can one file cover S/M/L? Only if the plant confirms safe scaling and you’ve checked type isn’t too small on small cups. Safer: a separate master per size.
Wrap-up — and Printaz
You don’t need Illustrator to get clean, on-brand cup labels ready for the plant. You need a pick template → edit → print-ready export process. On Printaz you can try it right away with cafe and milk-tea cup labels: edit in 2D, preview, get a quote / order print or download the file for your printer.
Open Printaz → pick a cup-label template → edit logo and text → preview → quote / order print. Need advice on size and quantity: [email protected].
Share this article